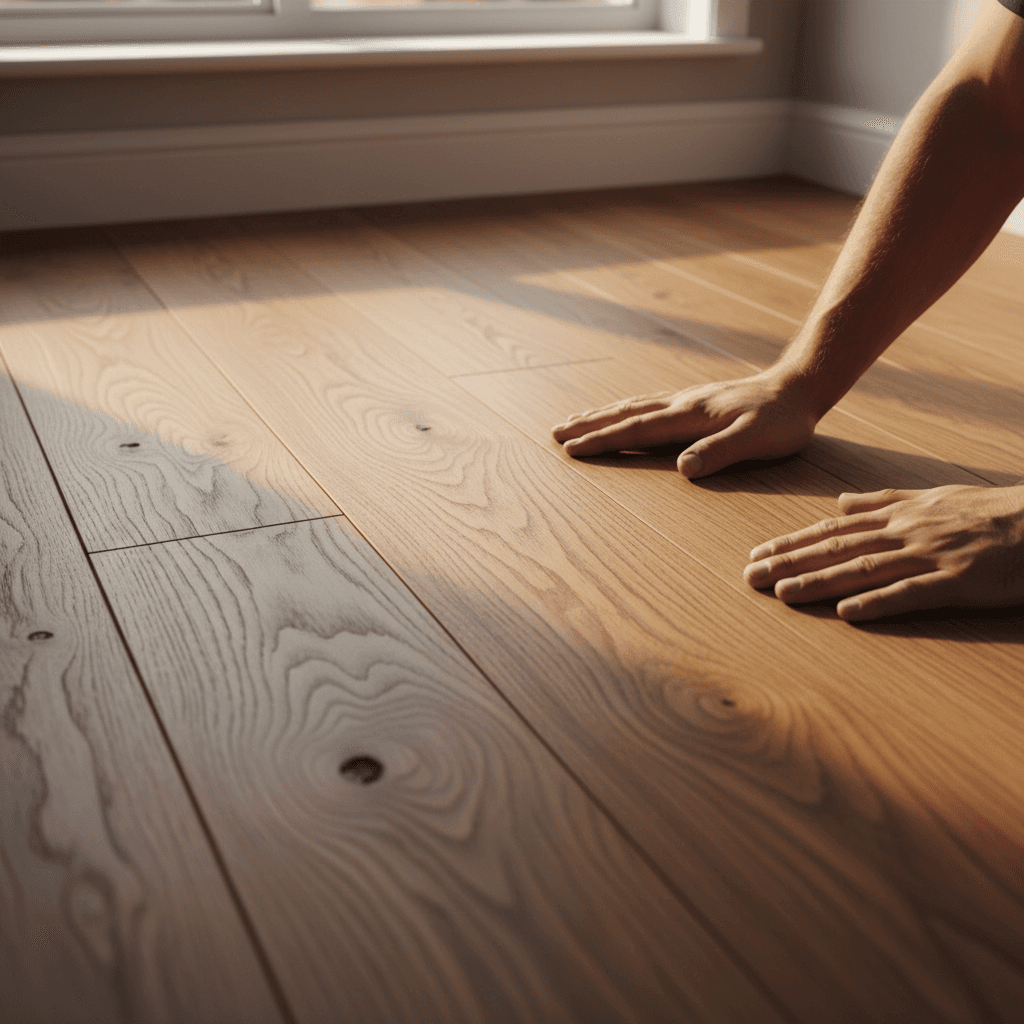
Effective subfloor preparation prevents flooring failures like cracks, squeaks, and uneven wear by creating a clean, level, and structurally sound base. This essential process includes repairing damage, grinding down high spots, and ensuring proper moisture levels to protect the integrity of the finished floor. Investing in these steps guarantees the long term durability and stability of materials like hardwood, laminate, or vinyl.
There is nothing more frustrating than investing in premium materials only to be met with the hollow sound of a bounce or the piercing click of a misaligned joint. These imperfections are rarely the fault of the floorboards themselves; instead, they are the symptoms of a neglected foundation. At Gobes Flooring, we understand that structural integrity begins where the eye cannot see. Proper subfloor preparation is the difference between a surface that fails within a year and one that lasts a lifetime. This guide explores the essential techniques for stabilizing wood and concrete substrates, the unique challenges of Utah’s arid climate, and the specific requirements for different materials. You will learn how to identify moisture risks, the importance of professional leveling, and why acclimation is a non-negotiable step for a flawless, long-lasting installation.
The Hidden Foundation: Why Subfloor Quality Dictates Flooring Longevity
Investing in premium wide-plank hardwood or high-performance luxury vinyl is a significant home improvement, yet the durability of these materials relies entirely on the surface underneath. A subfloor is the structural foundation of your room, typically consisting of plywood, OSB, or concrete. While the finish material gets the attention, the subfloor provides the stability required for a professional installation and replacement to last decades.
Most visible flooring failures are actually hidden subfloor failures. When a floor develops buckling, a "hollow" sound underfoot, or seams that begin to pull apart, the cause is rarely the plank itself; instead, it is usually a result of an unlevel or unstable base. At Gobes Flooring in Fillmore, Utah, we see these issues frequently in residential and commercial spaces where the preparation phase was rushed.
The most common mistake in local DIY projects is skipping the rigorous subfloor preparation process to reach the aesthetic finish faster. Without a perfectly level and secure foundation, even the most expensive materials will eventually fail. To ensure your investment stands the test of time, contact our team of experienced installers to discuss how precision prep makes the difference. You can also view our portfolio of finished projects to see the results of our meticulous approach.
What Happens When You Skip Subfloor Prep?
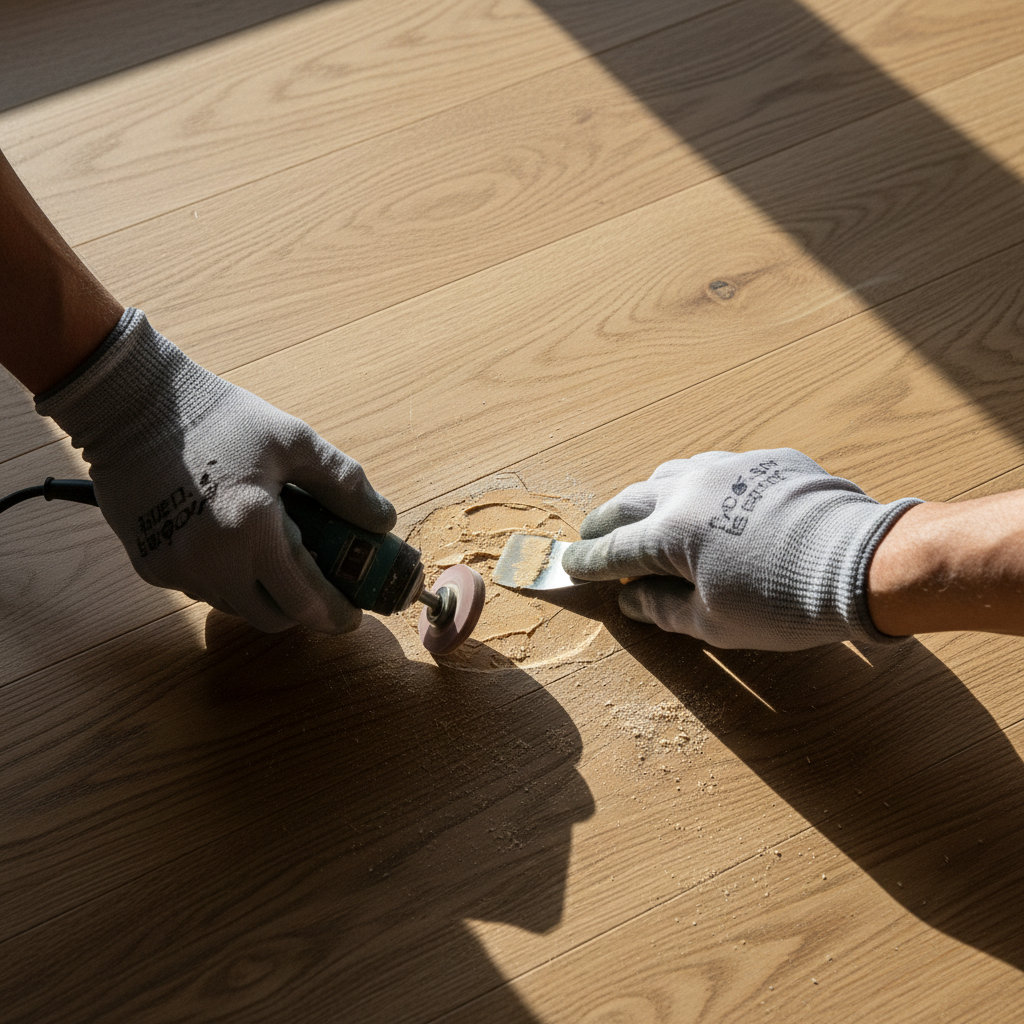
Skipping the initial stages of subfloor preparation triggers a domino effect of structural issues that no high end finish can hide. One of the most persistent complaints homeowners face is "the squeak." This noise is rarely caused by the new planks themselves; instead, it occurs when loose subfloor panels rub against nails that have pulled away from the joists. Without securing these panels first, every step you take on your new floor will be met with a mechanical reminder of what was missed.
Uneven surfaces introduce "the crack," a failure particularly common with tile or click-lock luxury vinyl. When a plank sits over a high spot, it creates a fulcrum point. As people walk across the room, the constant stress snaps the delicate locking mechanisms or fractures the grout lines in stone installations. Conversely, low spots in the substrate create "the bounce." These voids leave the flooring unsupported, causing it to flex downward under weight. Over time, this repetitive bending leads to material fatigue, separating seams, and premature wear.
In the commercial projects we handle across Millard County, moisture management is equally critical. Failing to address moisture levels in the subfloor before a professional installation and replacement can trap vapor beneath the new surface. This trapped humidity often leads to mold growth or complete adhesive failure, where the glue emulsifies and loses its bond. When these failures occur, the only solution is often a full tear out and restart, turning a shortcut into a costly project failure.
Wood Subfloor Preparation: Plywood and OSB Essentials
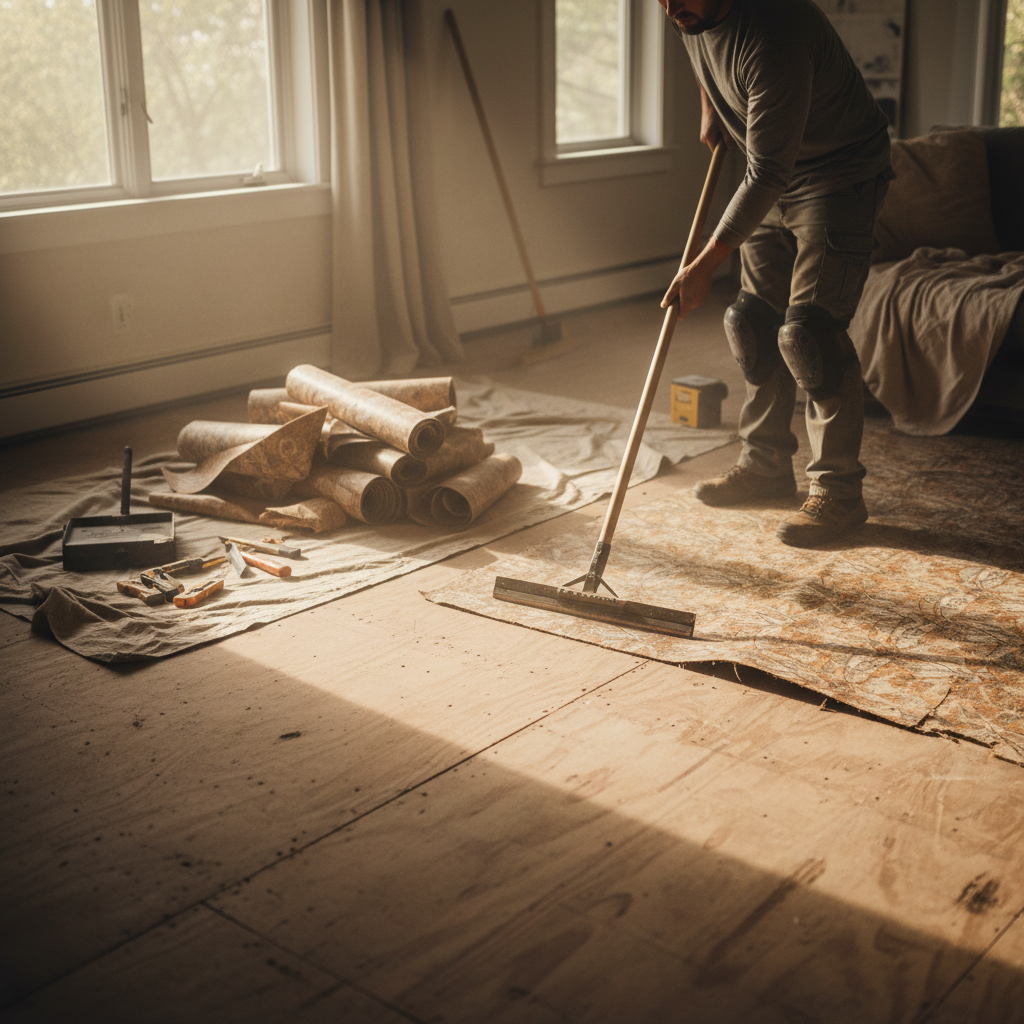
When working with plywood or oriented strand board (OSB), the first priority is mechanical stability. A common question during the planning phase is whether it is better to use nails or screws to secure panels. At Gobes Flooring, we advocate for screws. Unlike nails, which can lose their grip over time and lead to the audible friction known as "the squeak," screws provide superior withdrawal resistance. By drawing the subfloor tight against the joists and locking it in place, screws effectively eliminate the vertical movement that compromises the integrity of the finished floor.
Before laying any material, installers must evaluate "deflection," which refers to the amount of flex or bounce in the floor system. High deflection is often caused by joists spaced too far apart or undersized framing members. If the subfloor moves too much under a localized load, it will eventually snap the tongues of hardwood or cause click-lock seams to fail. Checking for this involves walking the room while observing for visible dips; if deflection is excessive, we may need to add structural blocking or an additional layer of underlayment-grade plywood to stiffen the assembly.
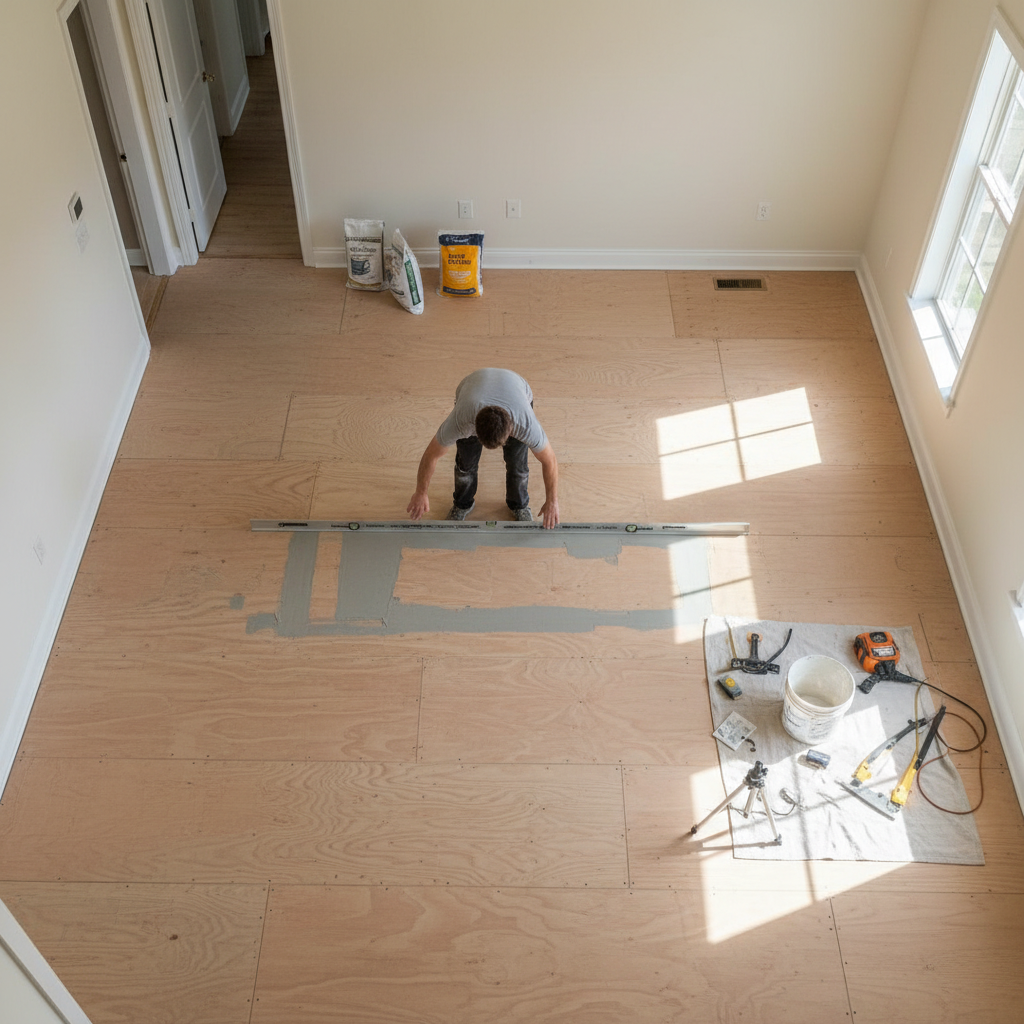
Achieving a flat plane requires a two-step process of sanding and patching. Plywood seams often swell if they were exposed to moisture during the home's construction. We use heavy-duty sanders to bring these high peaks level with the rest of the board. Conversely, any low spots or depressions are filled with a high-strength, Portland cement-based floor patch. This ensures the surface meets the industry standard of being flat within 3/16 of an inch over a 10-foot radius.
The final step in wood subfloor preparation is a thorough cleaning. Debris such as drywall mud, sawdust, or stray staples will prevent underlayment from sitting flush and can telegraph through thin materials like luxury vinyl. A clean, vacuumed surface is mandatory for the professional installation and replacement of your chosen materials, ensuring the bond between the substrate and the new floor remains permanent.
Concrete Subfloor Preparation: Moisture and Leveling
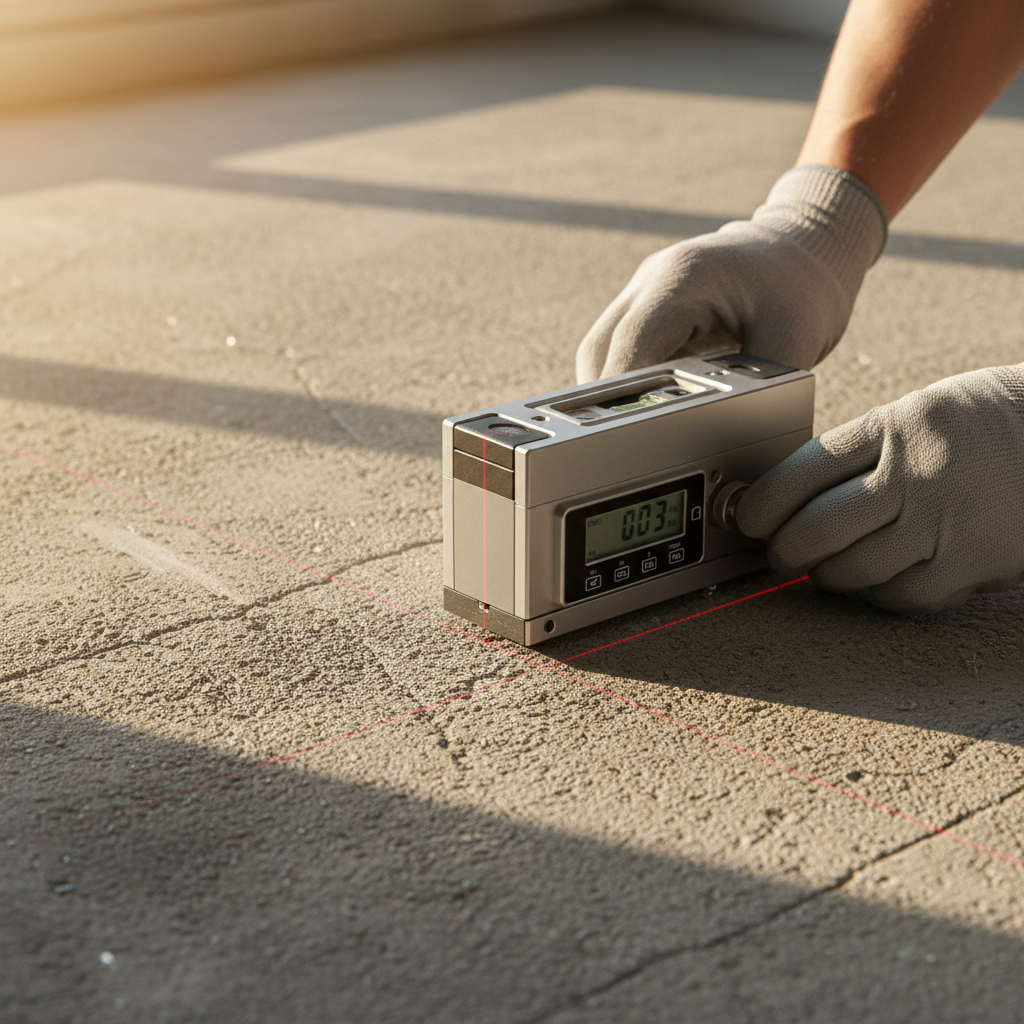
While wood subfloors present mechanical challenges, concrete slabs introduce chemical and topographical hurdles. A concrete floor might look level to the naked eye, but professional standards require the surface to be flat within 3/16 of an inch over a 10 foot radius. Any variance beyond this creates bridge points where the flooring is suspended in mid air. To correct this, our installers use industrial floor grinders equipped with diamond cup wheels to plane down high spots, which are often caused by heaving or trowel marks from the original pour. For low areas, we apply specialized self-leveling compounds that flow into depressions to create a glass-smooth finish.
Moisture is the most significant threat to a concrete-based professional installation and replacement. Concrete is naturally porous; it acts like a sponge, pulling ground moisture upward through a process called moisture vapor transmission. If this vapor is trapped under non-breathable flooring like luxury vinyl or sealed hardwood, it can delaminate adhesives or cause wood to rot from the bottom up. We perform rigorous testing using calcium chloride kits or in-situ relative humidity probes to measure the moisture levels within the slab.
In many older Fillmore homes, basement and ground-level slabs were poured without modern polyethylene vapor barriers. This makes the concrete particularly susceptible to seasonal dampness. In these specific cases, we apply a high-grade moisture-mitigation sealer to block vapor before any flooring material is laid. This preventative measure stops the hydrostatic pressure that leads to adhesive emulsification and floor bubbling. If you are concerned about the integrity of your slab, contact our team of experienced installers to perform a site evaluation before you invest in new materials.
The 72 Hour Rule: Acclimation and Utah's Arid Climate
Fillmore sits at an elevation of approximately 5,100 feet within a high desert environment. This geographical reality dictates a specific approach to subfloor preparation that installers in more humid regions often overlook. Wood is a hygroscopic material, meaning it constantly gains or loses moisture to match its surroundings. When flooring materials arrive at a job site from a climate controlled warehouse or a lower elevation, they carry a moisture content that may not align with the local air.
The 72 hour rule is a standard guideline for acclimation, though the actual time required depends on reaching equilibrium between the new material and the subfloor. In our arid climate, wood flooring that is installed immediately without acclimation will often shrink as it releases moisture; this results in unsightly gaps between planks. Conversely, if the subfloor itself holds more moisture than the new wood, the boards may absorb that vapor and expand, leading to crowning where the edges of the planks sit lower than the centers. To avoid these structural defects, contact our team of experienced installers to ensure your project accounts for local humidity levels. Proper acclimation ensures the professional installation and replacement stays tight and level through every Utah season.
Material Specific Requirements: Vinyl vs Hardwood vs Laminate
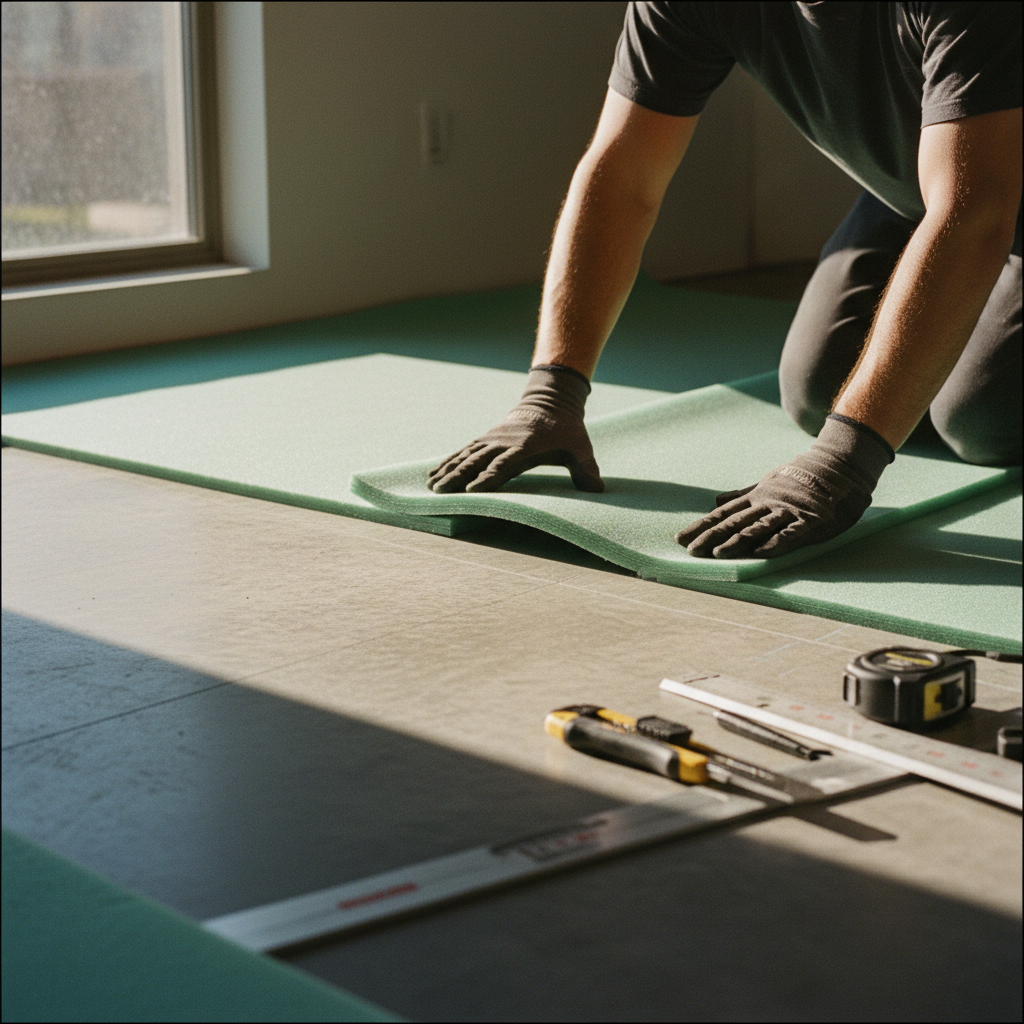
Different materials interact with the substrate in unique ways, making specialized subfloor preparation a requirement for a successful professional installation and replacement. For luxury vinyl planks (LVP), the priority is a perfectly smooth surface. Because LVP is often thin and flexible, it is susceptible to telegraphing, a condition where every grain of sand, staple head, or minor subfloor ridge eventually shows through the finish. Our team utilizes fine-grit sanding and thin-patching to eliminate these imperfections before the first plank is laid.
Hardwood subfloor preparation demands structural rigidity above all else. The substrate must be thick and stable enough to hold fasteners without movement. Homeowners often ask: Do you put anything between the subfloor and hardwood? We utilize 15-lb felt paper or specialized vapor retarders to act as a buffer. This layer prevents seasonal moisture from the subfloor from affecting the wood and minimizes friction noise between the two surfaces.
Laminate subfloor preparation typically involves a moisture barrier or an acoustic underlayment. Since laminate expands as a single unit, the subfloor must be level to avoid joint stress during seasonal shifts. If you are unsure which preparation steps your chosen material requires, contact our team of experienced installers for a detailed assessment of your home in Fillmore.
Material | Primary Prep Focus | Critical Component |
|---|---|---|
Luxury Vinyl (LVP) | Surface Smoothness | Eliminating telegraphing |
Hardwood | Structural Rigidity | 15-lb felt paper or vapor retarder |
Laminate | Leveling and Moisture | High-density underlayment |
Professional Tools for Professional Prep
Achieving the required flatness for modern flooring materials requires precision beyond the capabilities of basic home improvement tools. At Gobes Flooring, we utilize industrial-grade 10-foot straightedges to detect minute variances in the substrate, ensuring every high and low spot is addressed before the first plank is laid. To complement this, we employ digital moisture meters to accurately assess the internal humidity of concrete and wood, a step that is vital for preventing the adhesive failures and wood rot discussed earlier.
For leveling concrete, we use high-torque industrial floor grinders integrated with HEPA-filtered vacuum systems. This equipment provides the necessary power to plane down stubborn ridges while keeping your home or business free of fine silica dust. Utilizing these advanced tools allows us to achieve a clean finish and avoid the unnecessary delays that occur when using inadequate rental equipment. By choosing a professional installation and replacement, you are investing in the specialized technology required for a lasting floor. Contact our team of experienced installers to see how our precision equipment guarantees a superior result for your property in Fillmore.